
 Downloadable version availible at the bottom of the page.
⚠️ IMPORTANT INSTALLATION INFORMATION
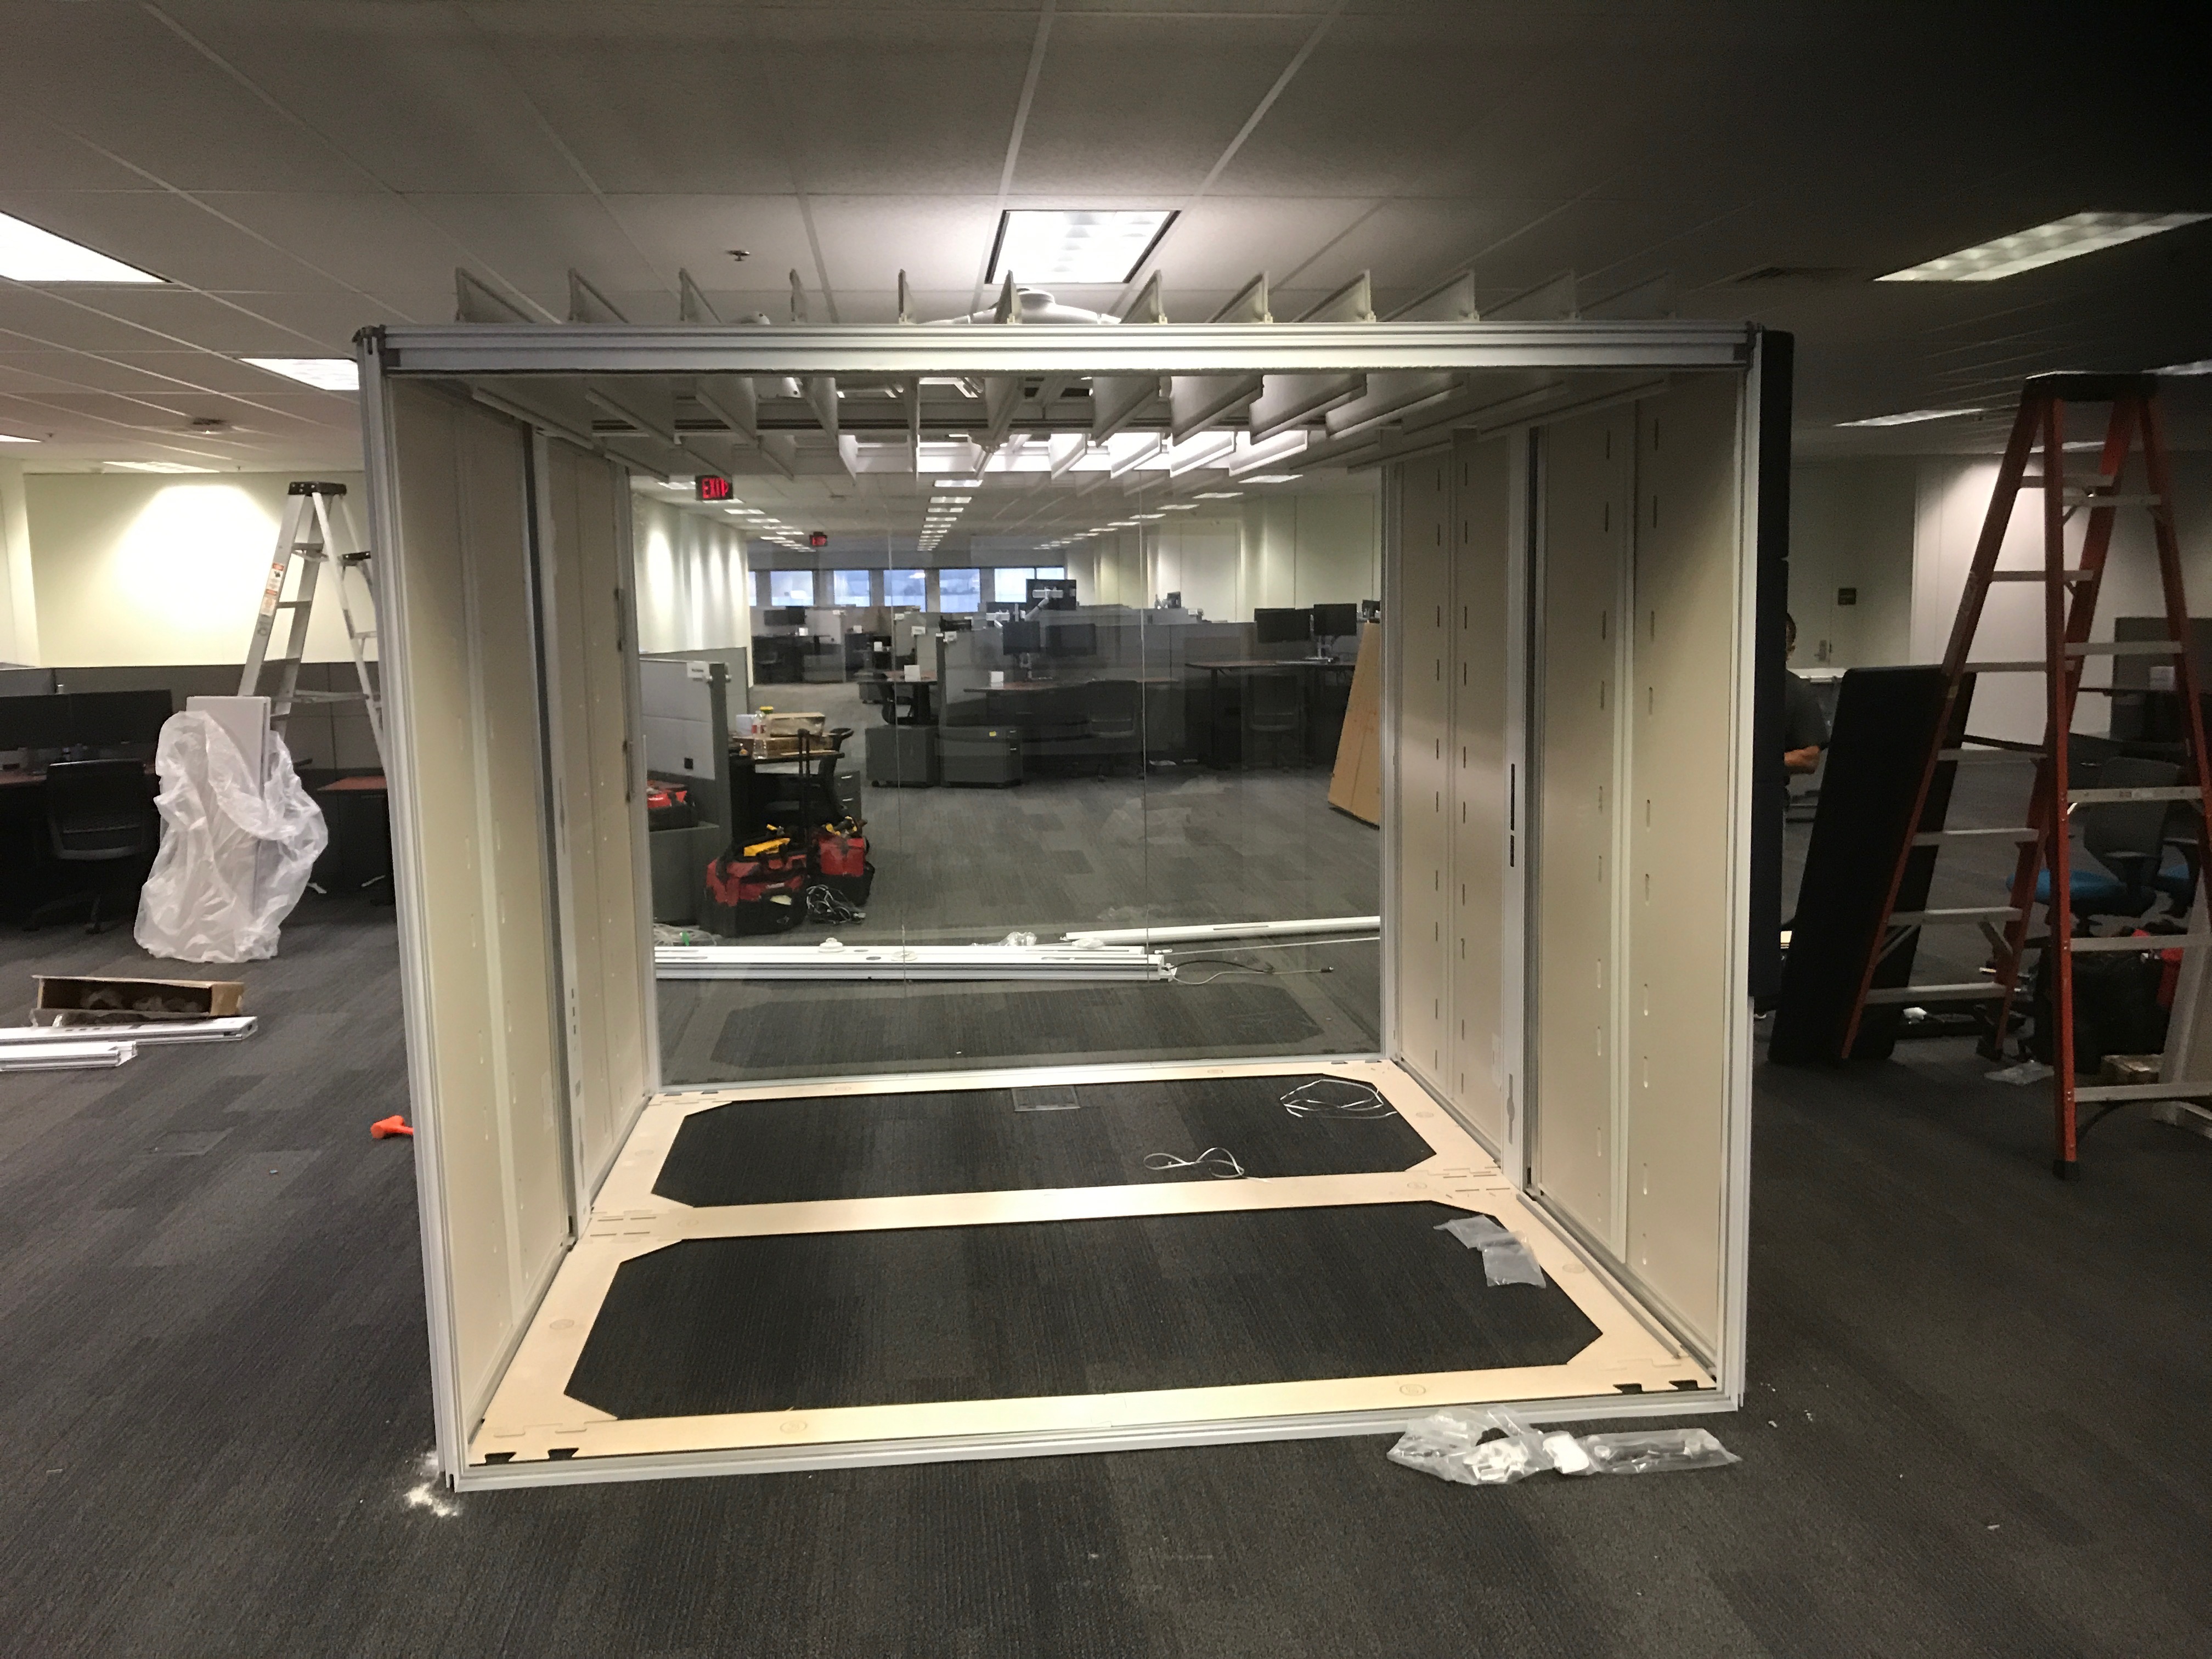
Correct jig layout is critical for ensuring Air3 pods are built square, level, and aligned correctly. Improper jig setup can result in misalignment, glass fit issues, and installation rework.
Note: Alignment jigs are sold separately from the pod. - Jig Style # - 1379688001SR
General Jig Layout Guidelines
- Assemble jigs using the layout sheets provided
- Ensure the floor area is flat and free of debris
- Confirm adequate ceiling height for the pod configuration
- Use jig layout as the client sign‑off position
- Use jigs to verify floor box locations
Minimum: One person required
Ensure all jig components are firmly connected before proceeding.
Half Square Pod Alignment Jig
Assembly Sequence
- Open and correctly position the 2 hoop alignment jig parts (Part 1)
- Build the straight connector parts (Part 2) around the central hoop jig
- Complete the jig by connecting the front alignment parts (Part 3)
- Use the AIR‑JIG‑008 set square to check vertical alignment of the hoop uprights
Kit Contents
- 2 × AIR‑JIG‑001
- 2 × AIR‑JIG‑002
- 2 × AIR‑JIG‑003
- 2 × AIR‑JIG‑008
Square Pod Alignment Jig
Assembly Sequence
- Open and position the 2 hoop alignment parts (Part 1)
- Build straight connector parts (Part 2) around the central hoop jig
- Connect front and rear alignment parts (Part 3)
- Use AIR‑JIG‑008 to check vertical angle of all hoop uprights
Kit Contents
- 2 × AIR‑JIG‑001
- 4 × AIR‑JIG‑002
- 4 × AIR‑JIG‑003
- 2 × AIR‑JIG‑008
Rectangular Pod Alignment Jig
Assembly Sequence
- Position two hoop alignment jig parts (Part 1)
- Connect the two hoop jigs using intermediate connectors (Part 9)
- Build straight connector parts (Part 2)
- Connect front and rear alignment jigs (Parts 3 & 4)
- Check vertical angles using AIR‑JIG‑008
Kit Contents
- 4 × AIR‑JIG‑001
- 2 × AIR‑JIG‑007
- 4 × AIR‑JIG‑002
- 4 × AIR‑JIG‑003
3×3 Square Pod Alignment Jig
Assembly Sequence
- Open and correctly position 6 hoop alignment jig parts (Parts 1 & 11)
- Connect hoop jigs using intermediate connectors (Part 9)
- Build straight connector parts (Part 2)
- Connect front and rear alignment parts (Parts 3 & 12)
- Use hoop set square parts (Part 10 / AIR‑JIG‑008) to confirm vertical alignment
Kit Contents
- 4 × AIR‑JIG‑001
- 2 × AIR‑JIG‑009
- 2 × AIR‑JIG‑007
- 4 × AIR‑JIG‑002
- 4 × AIR‑JIG‑003
- 2 × AIR‑JIG‑010
- 4 × AIR‑JIG‑008
Critical Notes
- Always verify pod position before building
- Vertical hoop alignment must be checked using set squares
- Misaligned jigs will cause compounding installation issues
- Use jig layout as formal position sign‑off with the client
Reference
Air3 Jig Layout Instructions
Installation Reference Document
This Zendesk article is intended as an installer‑facing reference and does not replace full installation documentation.
Comments
0 comments
Please sign in to leave a comment.